2024. 12. 21. 17:40ㆍ엔지니어

배경
시스템 유지보수를 하다 보면 여러 가지 분야의 문제에 직면하게 됩니다. 그중에서 서버 부팅 문제가 생기는 경우가 종종 있습니다. 대부분의 문제 원인은 시스템 관련 설정 혹은 서비스, 파일이 잘못되었을 경우입니다. 하지만 다시 설정을 하기 위해서는 최소한 CLI 혹은 GUI로 진입하여 작업을 해야 합니다. 그래서 엔지니어는 긴급모드 혹은 안전모드로 진입하여 작업을 수행합니다.
개요
System Rescue는 시스템 충돌 및 장애를 복구하기 위한 배포판 Linux로 위의 문제를 직면 했을때 엔지니어에게 편리함을 제공합니다. 우선 몇 가지 특징을 알려드리겠습니다.
- 대부분의 linux 명령어 지원 ( parted, fdisk, fsck, smartctl, … )
- GUI 환경 및 웹 브라우저( Firefox , ELinks ) 지원
- 다양한 파일 시스템 지원 ( NTFS-3G, FAT32, Mac OS HFS, … )
- 다양한 디스크 복구 및 백업 툴 ( PartImage, TestDisk, smartmontools, ddrescue, FSArchiver, nwipe )
배포
부팅 디바이스를 만들어 사용할 수 있지만, 엔지니어라면 iPXE 혹은 PXE에 추가하시는 것을 추천합니다.
iPXE 설정 예시
:sysrescue-setup-9.04
set base http://${next-server}/ipxe/iso/sysrescue/9.04
kernel ${base}/sysresccd/boot/x86_64/vmlinuz initrd=sysresccd.img archisobasedir=ipxe/iso/sysrescue/9.04/sysresccd ip=dhcp archiso_http_srv=http://${next-server}/ checksum nofirewall rootpass=password
initrd ${base}/sysresccd/boot/intel_ucode.img
initrd ${base}/sysresccd/boot/amd_ucode.img
initrd ${base}/sysresccd/boot/x86_64/sysresccd.img
boot
PXE BIOS 설정 예시
label sysresccd
  menu label System Rescue 9.04
  kernel sysresccd/boot/x86_64/vmlinuz initrd=sysresccd.img archisobasedir=sysresccd ip=dhcp archiso_nfs_srv={next-server} checksum nofirewall rootpass=password
  initrd sysresccd/boot/intel_ucode.img,sysresccd/boot/amd_ucode.img,sysresccd/boot/x86_64/sysresccd.img
PXE UEFI 설정 예시
menuentry ‘System Rescue 9.04' {
  linuxefi sysresccd/boot/x86_64/vmlinuz initrd=sysresccd.img ip=dhcp archiso_nfs_srv={next-server} checksum nofirewall rootpass=password
  initrdefi sysresccd/boot/intel_ucode.img,sysresccd/boot/amd_ucode.img,sysresccd/boot/x86_64/sysresccd.img
}
사용
SystemRescue 사용 하는 법은 여러 가지 있습니다. 예시로 Windows 관련 사용방법 2가지를 설명드리겠습니다.
Window 계정 비밀번호 초기화 및 잠금해제, 관리자 권한 부여 ( 관리자 계정 비밀번호 초기화 )
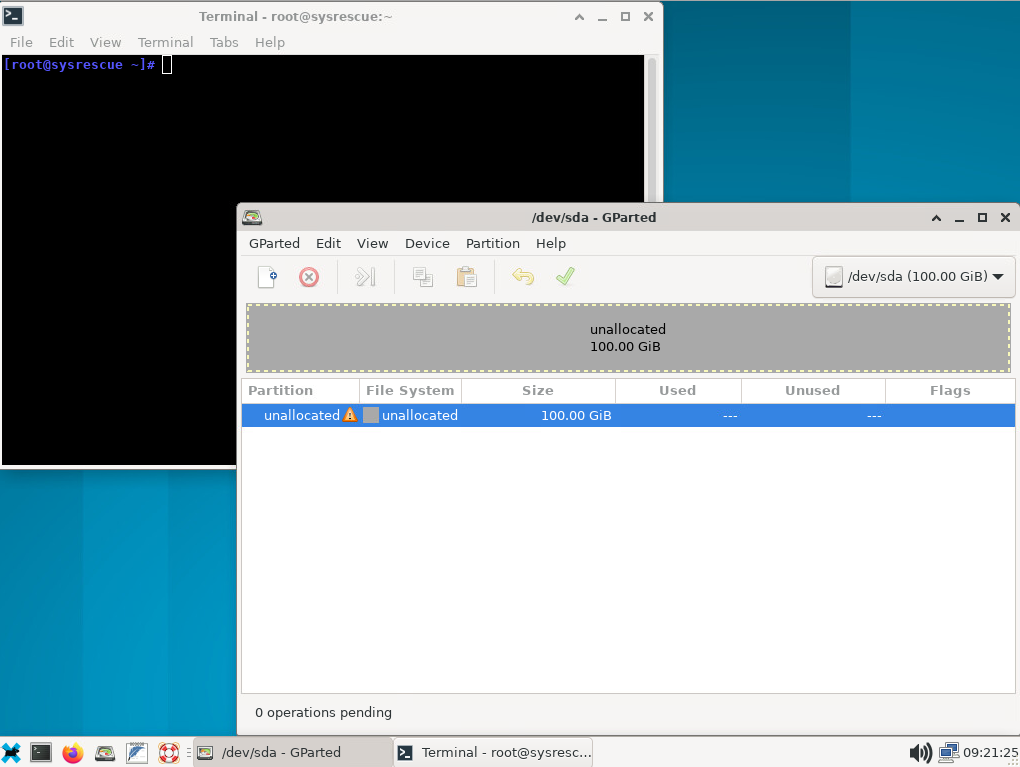
Windows 설정파일에 접근할 수 있도록 마운트를 합니다.

ntfs-3g /dev/sda2 /mnt
만약 마운트 에러 발생 시 (The disk contains an unclean file system (0, 0). Metadata kept in Windows cache, refused to mount.) 아래 명령들을 실행합니다.
umount /mnt
ntfsfix /dev/sda2
ntfs-3g /dev/sda2 /mnt
이제 시스템 파일에 접근하여 사용자 설정을 진행합니다.
cd /mnt/Windows/System32/config
chntpw -l SAM
chntpw -u %Username% SAM


이제 마운트를 해제하고 재부팅하여 설정한 Windows로 부팅합니다.
umount /mnt
reboot

Windows 레지스트리 조회 및 수정 ( RDP 포트 변경 )
동일하게 Windows 설정파일에 접근할 수 있도록 마운트를 합니다.
ntfs-3f /dev/sda2 /mnt
경로로 이동하여 레지스트리 수정을 진행합니다.
cd /mnt/Windows/System32/config/
chntpw -e SYSTEM


cd ControlSet001\Control\Terminal Server\WinStations\RDP-Tcp
ls
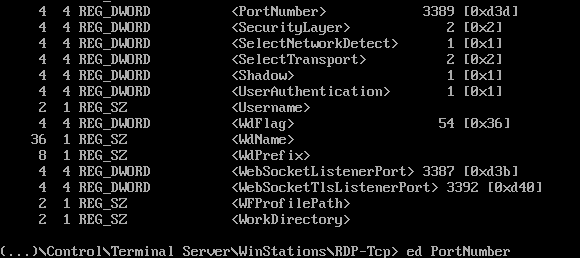
ed PortNuber
43389
ls

참고 URL
SystemRescue : https://www.system-rescue.org/
SorceForge : https://sourceforge.net/projects/systemrescuecd/files/sysresccd-x86/
'엔지니어' 카테고리의 다른 글
| Lenovo X1 Carbon 4th 리튬전지 및 배터리 교체 (0) | 2025.03.17 |
|---|---|
| Namespace를 사용한 케이블 불량 확인 (1) | 2024.12.19 |